As Singaporeans spend more time indoors these days — STAY HOME, everyone — we’ve also witnessed the rise in the number of domestic goddesses in training! Whether you’re a newbie or pro in the kitchen, you’d definitely heard about meal preps in Singapore. A meal prep means to prepare your meal in advance. Not only does it work with our fast-paced lifestyles pre stay-home period but it can help reduce the anxiety of what to cook while cooped up at home these days. So skip the delivery waiting times and get started on meal prep for you and your family now!
Benefits of meal prep in Singapore
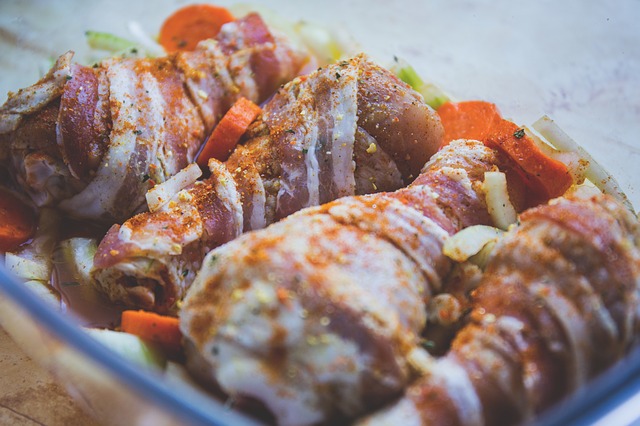
One of the first things to learn en route to becoming a kitchen whizz is knowing how to meal prep and make your ingredients go the extra mile for you.
For starters, meals prepared in large batches once or twice every week, can last up to five days. This not only reduces decision fatigue on what to cook for lunch or dinner but also saves you the hassle of cleaning up after cooking daily meals. Since meal prep involves cooking in large batches, you’ll be purchasing ingredients in bulk. This makes meal prep more cost efficient. Most importantly, meal prep in Singapore is a great way to ensure your diet has all the healthy nutrients you need.
Quick tips for meal prep in Singapore
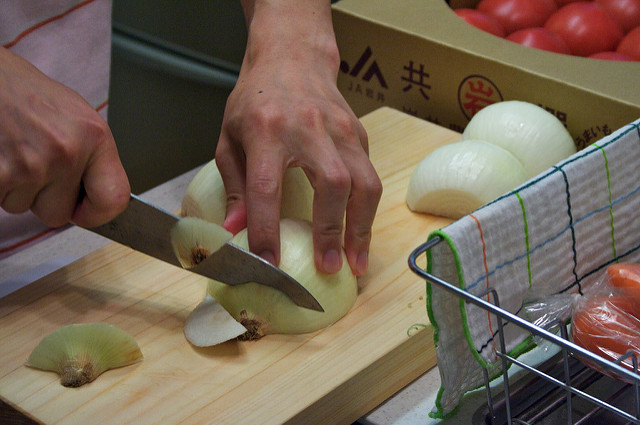
Plan ahead for you meal prep ideas
Plan what you want to meal prep a few days in advance. This helps to save time when grocery shopping. Stick a whiteboard to your refrigerator so you can better visualise and plan meals for the week.
Keep track of storage time
Foods like fresh seafood and meat should never be stored or consumed after more than three days for safety. Planning to use these foods in your meal prep portions in the coming days? Keep them in the fridge to preserve freshness. Otherwise, if you plan to keep seafood and meat beyond the recommended three to four days, it’s advisable that you freeze them so they can last for weeks to come.
Meal prep containers
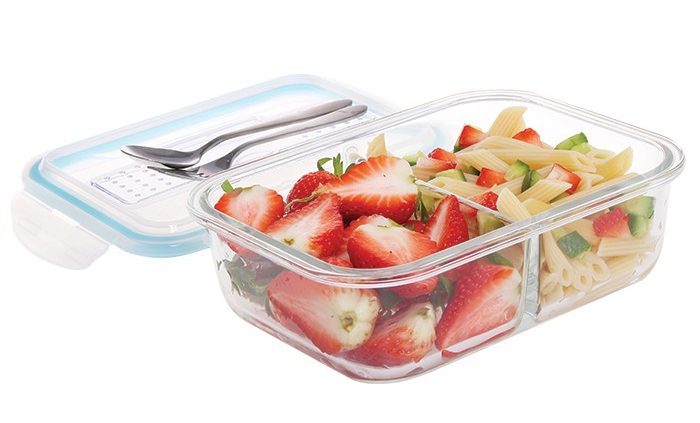
To contribute to the zero waste efforts in Singapore, buy reusable lunch boxes for meal prep. You can find reusable plastic containers that have in-built compartments which will be useful for segregating your food. Look for one that is BPA free. In addition, if you plan to heat up your food in the microwave, you should opt for microwavable glass lunch boxes.
Mix it up
You don’t have to eat the same food for all your meals! Prepare a few different meal prep ideas and alternate them for different meals. You can have chicken for lunch and a salad for dinner!
The right portions for minimal wastage
If it’s your first time attempting meal prep, it’s important to properly portion your servings when cooking in bulk. From adding the right amount of sauces to attributing enough proteins, you’ll want to get this right so you can conveniently access and re-heat them according to how much you’ll eat a day. When done right, you’ll easily avoid food wastage!
Ideas for meal prep in Singapore
1. Japanese Sesame Chicken Spaghetti
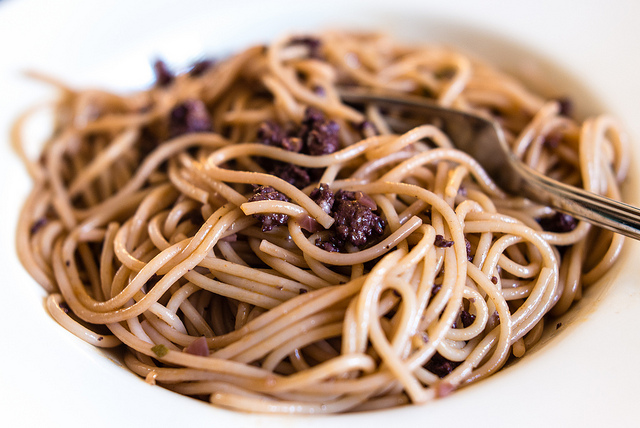
Prep Time: 15 minutes
Cook Time: 10 minutes
Servings: 4
Recipe Ingredients:
- Japanese Sesame Sauce (amount to your preference)
- 230g dry spaghetti
- 2 tablespoons vegetable oil
- 1 tablespoon sesame oil
- 550g or 2 boneless chicken breasts (remove the skin and cut into chunks)
- Pinch of salt and pepper
- ½ tsp garlic powder
- ¼ cup chopped cilantro
- 2 cups broccoli
- ½ cup chopped cucumber
- ½ chopped red bell pepper
Recipe Instructions:
- Begin by boiling a big pot of water sprinkled with salt. Add the spaghetti into the pot and cook to your desired softness.
- Once done, rinse the spaghetti with cold water and drain excess water. Pour sesame oil onto the spaghetti and toss until all the noodles are coated in sesame oil. !
- Pour vegetable oil into a pan and add the chicken breast chunks. Season the meat with garlic powder, salt and pepper.
- Cook the meat until both sides turn golden brown
- Boil the broccoli and mix it with the remaining vegetables. Add cilantro into the mixture and voila, your meal is ready!
How to store?
Divide the spaghetti, meat and vegetables into four portions. Store each portion in a meal prep container. Pour Japanese sesame sauce into four mini sauce containers which can be kept inside the larger containers. Store them together in the fridge for up to four days.
2. Cauliflower Fried Rice
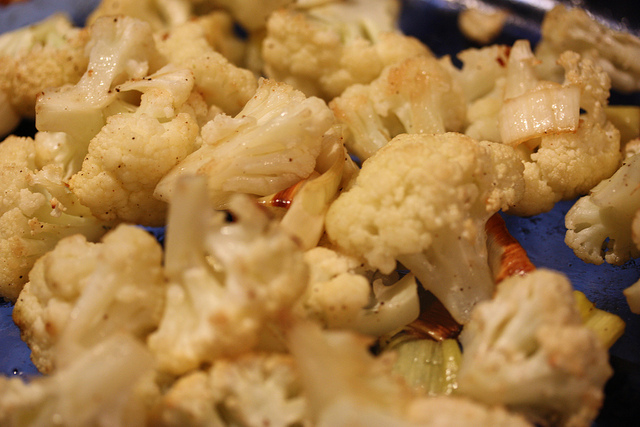
Prep Time: 20 minutes
Cook Tme: 10 minutes
Servings: 4
Recipe Ingredients:
- 680g cauliflower (rinsed)
- 1 tablespoon sesame oil
- 1 egg
- 2 egg whites
- Pinch of salt
- ½ small onion (diced fine)
- ½ cup frozen peas
- ½ cup carrots (chopped into cubes)
- 2 garlic cloves (minced)
- 5 scallions (diced and separate the whites from the greens)
- 3 tbsp soy sauce (or amount to your preference)
Recipe Instructions:
- Removing the core of the cauliflower and ensure it’s completely dried
- Run the cauliflower core in the food processor slowly until it’s mashed to the size of a rice grain. (Avoid over processing or the cauliflower will turn mushy. The cauliflower bits will act as the ‘rice’ for this meal prep!)
- Beat the egg and egg whites together. Add a pinch of salt.
- Place a large pan over medium heat and drizzle cooking oil
- Fry the eggs in the pan and set aside when done
- Pour sesame oil into a pan on medium heat. Saute onions, scallion whites, peas, carrots and garlic cloves for about four minutes.
- Add the cauliflower ‘rice’ to the mixture. Pour soy sauce and mix everything in the pan for about six minutes. The cauliflower ‘rice’ should feel crunchy on the outside and soft on the inside.
- Finish by adding the egg and then garnish with scallion greens.
How to store?
Set aside to cool before separating the cauliflower fried rice into four meal prep containers. Store them in the fridge for up to four days.
3. Japanese Miso Salmon Rice
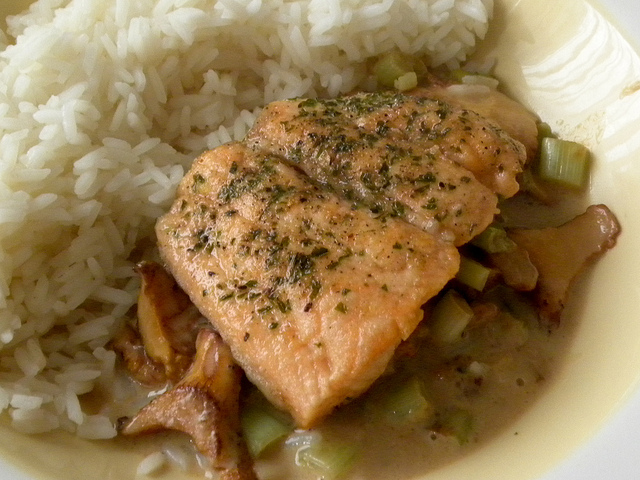
Prep Time: 1 hour
Cook Time: 15 minutes
Servings: 3
Recipe Ingredients:
- 1 ½ cups raw brown rice
- 600g salmon fillet (with skin)
- 3 tbsp white miso
- 1 ½ tbsp sake
- 1 ½ tbsp mirin
- 1 ½ tbsp soy sauce
- ⅓ tsp sesame oil
- ½ tsp roasted white and black sesame seeds
- 1 green onion (sliced)
Recipe Instructions:
- Wash and cook the brown rice in a rice cooker. Once done, cool it before storing into 3 meal prep containers.
- Next, mix the white miso, sake, mirin, soy sauce and sesame oil together in a large bowl. This mixture is the marinade for the salmon.
- Wash the salmon and cut into 3 pieces. Place the salmon with the skin side facing up and coast it with the marinade. Cover the bowl with cling wrap and keep it in the fridge for 45 minutes.
- Preheat the oven for 3 minutes at a high temperature. Line parchment paper on the baking tray and place the marinated salmon on it. Make sure no leftover miso remains on the salmon as it tends to get burnt easily.
- Bake the salmon for about 10 to 12 minutes, checking from time to time to ensure that it’s cooked thoroughly. Set aside to cool.
How to store?
Store the cooked miso salmon into the three meal prep containers with brown rice. To finish off, scatter some sesame seeds and green onions. Place the meal prep containers into the fridge and enjoy the meal for up to three days!
4. Chicken Burrito Bowl

Prep Time: 15 minutes
Cook Time: 40 minutes
Servings: 4
Recipe Ingredients:
- 2 boneless chicken breast (without skin)
- 1 red bell pepper (sliced)
- 1 yellow bell pepper (sliced)
- 1 large red onion (sliced)
- 2 tbsp olive oil
- 1 tbsp taco seasoning
- Pinch of salt and pepper
- 1 jar salsa
- 1 ½ cups raw brown rice
- 1 can corn
- 1 cup shredded cheddar cheese
- 3 lime wedges
Recipe Instructions:
- Start by washing the brown rice. Cook the rice in a rice cooker and let it cool before storing into 4 meal prep containers.
- Preheat the oven for five minutes at high temperature
- Meanwhile, line a baking tray with aluminium foil and place the chicken breast. Fill the rest of the tray with bell pepper and onions.
- Drizzle olive oil onto the baking tray and spread taco seasoning evenly on both sides of the chicken breasts. Sprinkle salt and pepper evenly onto the baking tray. Next, each chicken breast generously with salsa before baking in the oven for 25 to 40 minutes.
- Once baked, let the cooked chicken breast cool for about ten minutes before slicing into strips and it’s done!
How to store?
Top the brown rice in each meal prep container with corn, salsa, cheddar cheese, cooked bell peppers and onions. Add the chicken strips into the container along with a lime wedge. Store the meal prep containers in the fridge for up to four days!
5. Soy Honey Noodle Salad
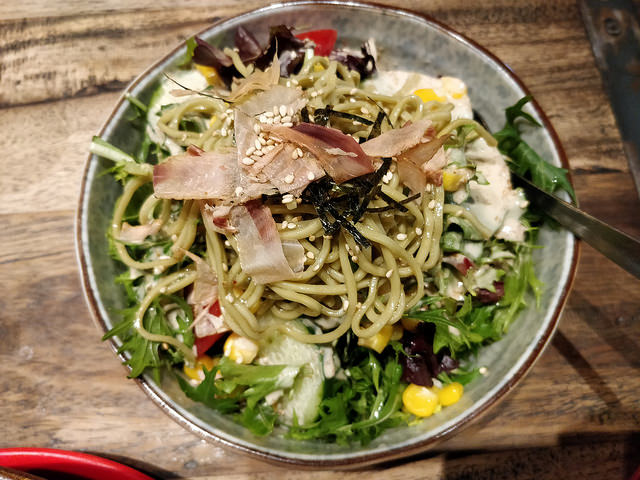
Prep Time: 5 minutes
Cook Time: 20 minutes
Servings: 4
Recipe Ingredients:
- 500g egg noodles
- 1 ½ tbsp soy sauce
- 2 tbsp honey
- 4 tbsp fresh lemon juice
- 1 tbsp garlic powder
- 1 tbsp vegetable oil
- Pinch of salt and pepper
- 2 tbsp sesame seeds
- 4 spring onion (chopped finely)
- 3 boneless chicken breasts
- 2 tbsp cooking oil
- 200g broccoli
Recipe Instructions:
- Boil a pot of water with salt and cook the noodles until firm
- Drain the water and rinse the noodles with cold water. Once cooled, pack the noodles into four meal prep containers, garnished with sesame seeds and spring onions.
- Mix soy sauce, lemon juice, honey, garlic powder and vegetable oil together in a bowl. Add some salt and pepper to the mixture.
- Pour ¾ of the mixture on the noodles and toss to ensure all the noodles are well coated
- Season the chicken breast with some salt and the remaining garlic powder
- Heat up a non-stick pan and pour in the cooking oil before adding the seasoned chicken breasts. Cook until both sides of the chicken breasts turn golden brown.
- Pour the remaining lemon juice on the chicken and remove the pan from heat. Allow the chicken to cool down for ten minutes before slicing.
- Boil a pot of water with salt and cook the broccoli in it for about three minutes. Once cooked, remove the broccoli and let it cool in a bowl of ice water. Drain the broccoli before adding it into the meal prep container.
How to store?
To pack, add the sliced chicken and broccoli on the noodles. Drench the noodles and chicken in the remaining dressing made earlier. Store in an airtight meal prep container for up to four days.
6. Spicy Chicken Sweet Potato

Prep Time: 15 minutes
Cook Time: 30 minutes
Servings: 4
Recipe Ingredients:
- 3 boneless chicken breasts without skin (cut into chunks)
- 3 tbsp cajun seasoning
- 2 tbsp olive oil
- 3 sweet potatoes (peeled and diced)
- 5 cups broccoli
- Pinch of salt and pepper
- 4 tbsp hummus
Recipe Instructions:
- Start by tossing the chicken breasts in the cajun seasoning and drizzle one tablespoon of olive oil evenly into the mixture. Store the meat in the fridge for about 30 minutes.
- Meanwhile, preheat the oven at a high temperature for about five minutes
- Line parchment paper on a baking tray. Arrange the broccoli and sweet potatoes onto the tray and drizzle a tablespoon of olive oil over the vegetables. Add a pinch of salt.
- On a separate tray, place the chicken breasts and bake both trays for about 15 minutes
- Once done, remove the broccoli and chicken from the tray. Stir the sweet potatoes and put them back into the oven to bake for another 15 minutes.
- Meanwhile, pack the broccoli and chicken into four meal prep containers. Do the same for the sweet potatoes when they are done baking.
How to store?
Pour one tablespoon of hummus into each of the four sauce containers. This will be your chicken dip for that additional taste! Seal the sauce containers and put them in the meal prep container for later consumption. Store in the fridge for up to four days.
7. Bak Kut Teh
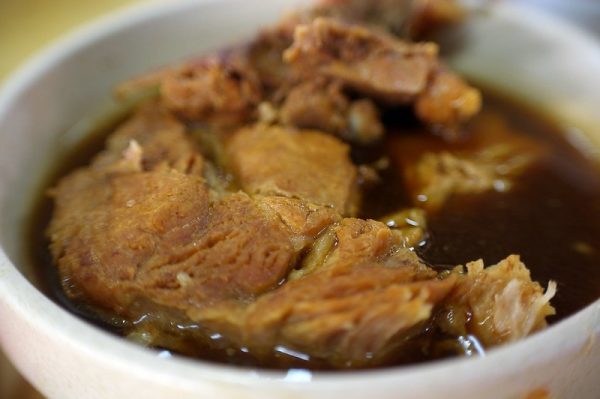
Prep Time: 20 minutes
Cook Time: 2 hours
Servings: 2
Recipe Ingredients:
- 2 Bak Kut Teh spice (available on happybelly_official) sachet
- 1kg spare pork ribs
- 1.8l water
- 4 bowls steamed white rice
- Pinch of salt and pepper
Recipe Instructions:
- Rinse the ribs and boil them in water for 15 minutes. Draining excess residue.
- Once done, boil 1.8l of water and place the clean pork ribs and empty the spice sachet inside
- Reduce to low heat to let the broth simmer for an hour. Towards the end of the simmering process, add salt and pepper for seasoning.
- While the bak kut teh is cooking, cook the white rice in a rice cooker
How to store?
Remember to let the bak kut teh cool before separating portions into the meal prep containers. Keep the rice and bak kut teh stored separately so you can preserve the broth’s rich flavour when reheated!
8. Slow Cooked Beef Stew
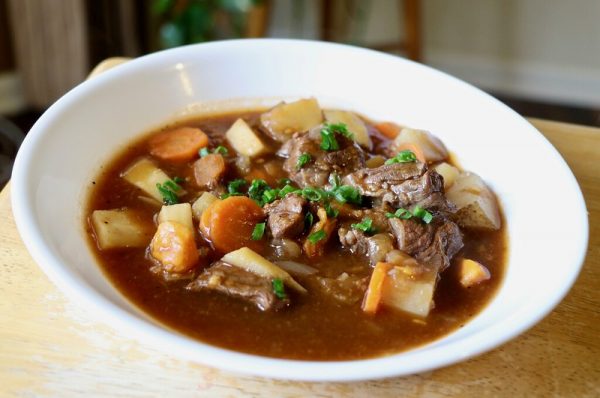
Prep Time: 15 minutes
Cook Time: 8 hours
Servings: 4
Recipe Ingredients:
- 600g beef cubes
- 2 tbsp olive oil
- 200g potatoes
- 200g carrots
- 1½ garlic cloves (minced)
- ½ onion (diced)
- 2 cups beef broth
- ¼ cup all-purpose flour
- 1 tbsp tomato paste
- ½ tbsp worcestershire sauce
- ½ tsp dried thyme
- ½ tsp dried rosemary
- ½ tsp paprika powder
- Pinch of salt and pepper
Recipe Instructions:
- Begin by first seasoning the beef cubes with salt and pepper.
- Add olive oil to a pan and sear the beef cubes for two to three minutes until evenly browned.
- When done, place potatoes, carrots, garlic and cooked beef cubes into your slow cooker while stirring in 1½ cups of beef broth! You can add worcestershire sauce, dried thyme, rosemary and paprika to the pot for added flavour.
- Cover and let it cook on low heat for about 7½ hours
- For the final step, whisk ½ cup of beef broth with flour and add into the mixture to thicken the stew
- Continue cooking for an additional 30 minutes before letting it cool
How to store?
Keep the stew in airtight meal prep containers in the freezer. The servings can be stored for as long as three months! Totally worth the 8 hours cooking time, we say!
Make ideas for meal prep in Singapore easy with these tips and recipes
When it comes to meal prep in Singapore, your imagination is the limit! Browse the Eat And Cook At Home page and get fresh ingredients delivered to your doorstep. Keep experimenting and discovering new meal prep ideas to entice your taste buds! Own an air fryer but not sure what you can prepare with it? Here are some easy air fryer recipes that can be cooked in 15 minutes. If you want to get the little ones involved in the kitchen, why not start by trying these recipes that are guaranteed to make baking with your kids fun and engaging.
This article was updated on 15-04-2020. Additional research and updates done by Bryant Tay.]]>




![19 Affordable Romantic Restaurants In Singapore [Under $100]](https://shopee.sg/blog/wp-content/uploads/2026/01/affordable-romantic-restaurants-360x180.webp)


