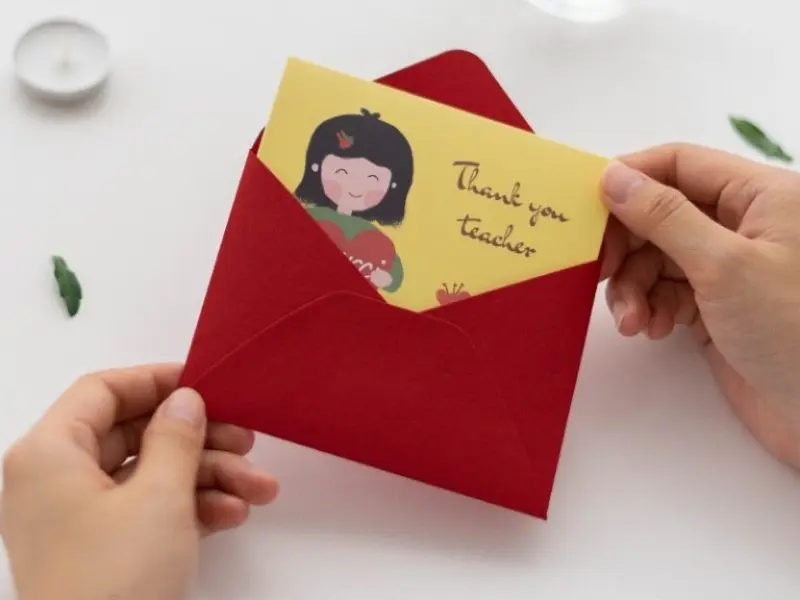
They say that the best teachers teach from the heart, not from the book. If you’ve ever had such an educator who has inspired you (or your kids) over the years, it’s time to show them your appreciation this Teachers’ Day (5 September). A good way to do that is by giving them a handmade Teachers’ Day card. We’re sure your teacher will appreciate the gesture! Not sure how to begin? Read on for some simple DIY Teachers’ Day card design ideas in Singapore you can do with your kids this 2025!
DIY handmade Teachers’ Day card ideas in Singapore to try (2025)
1. Origami Envelope Teachers’ Day Card
If you’re on the hunt for a simple handmade Teachers’ Day card idea to follow, you can’t go wrong with this origami envelope card design. There is a special pull tab feature, which we’re sure your teacher will appreciate the element of surprise. Moreover, this DIY Teachers’ Day card can be made within minutes – quick and easy!
You will need:
- A4 size paper
- Coloured markers
How to make this Teachers’ Day card idea:
- Fold an A4 size paper in half on the long end (horizontally)
- Unfold the paper and fold the four corners inwards such that the folds end nicely in the middle (previously folded line)
- Fold the remaining sides inwards as well
- Then, fold the two sharp ends inwards such that it forms a rectangle
- Flip the paper around and write down your Teachers’ Day message vertically
- Design the card using coloured markers
- Once the design is done, fold and unfold the card in thirds
- Tuck in the bottom fold into the top fold such that an envelope shape is formed
- Design the ‘cover’ of the envelope with coloured markers and write ‘Happy Teachers’ Day’ on it
- Write the word ‘Pull’ in the centre square and draw arrows so that your teacher can experience the surprise factor by ‘opening’ the envelope
2. Pencil Teachers’ Day Card
Nothing is as synonymous with teachers as red pens, which is why we think it’s apt to have a Teachers’ Day card idea in Singapore in the shape of one. Well, a pencil is not quite a red pen but you get the idea. Taking minutes to complete, this Teachers’ Day card design can be customised in any way you like!
You will need:
- A4 coloured paper (yellow, beige, black, pink)
- Ruler
- Pencil
- Scissors
- Glue
- Small art beads
How to make this Teachers’ Day card idea:
- Take a piece of A4 yellow coloured paper and fold it in half on the long end (horizontally)
- Using a ruler and pencil, mark out a 9cm x 9cm square using the folded yellow coloured paper against a piece of beige coloured paper
- Cut the square out using a pair of scissors
- Glue the cut-out beige square on one end of the folded yellow paper
- Similarly, measure and cut out half the 9cm x 9cm square using a black coloured paper and glue it on top the beige square. It should be in a rectangle shape
- Do the same for the other side of the folded yellow coloured paper with a pink coloured paper instead
- Add in a strip of black coloured paper above the pink portion
- Cut the top end of the card in the shape of a pencil
- Fold the remaining leftover coloured paper into small triangles and curve cut off one end of it. This will create mini flowers which you can stick all over the card
- Glue small art beads onto the middle of the flowers
- Unfold the card to write your Teachers’ Day message!
3. Blackboard Teachers’ Day Card
We’re pretty sure that your teacher scribbles on the whiteboard on a daily basis. But this Teachers’ Day, it’s your turn to do so by making this DIY blackboard Teachers’ Day card. Aesthetically pleasing and quick-to-do, it is definitely a simple Teachers’ Day card design idea you should try!
You will need:
- Brown craft paper or an old wedding card
- Coloured paper (mainly black)
- Scissors
- Ruler
- Glue
- White acrylic paint
How to make this Teachers’ Day card idea:
- Cut a brown craft paper or an old wedding card in half such that it opens in a vertical flap
- Use a ruler, measure and cut out a smaller rectangle from a piece of black coloured paper
- Paste it with glue on the brown craft paper. This should take up 80% of the space with a margin at the sides, looking like a blackboard.
- At the bottom of the brown craft paper, cut out a small rectangle to make the blackboard stands
- Design the blackboard with stickers and drawings. Make sure to use white acrylic colour paint when writing words
- A suggestion would be to take other pieces of coloured paper and cut out small strips of the ‘saved’ icon to add as a banner on the top of the card
- Open the card flap to see whether the blackboard can stand
4. Flower Teachers’ Day Card
Your child might not have the money to buy actual flowers, but they can definitely make their own as part of their DIY Teachers’ Day card idea this year. It comes with a pop-up message and has a shiny glitter aesthetic. No one can resist such a beautiful handmade Teachers’ Day card!
You will need:
- Origami paper
- Pencil
- Scissors
- Glue
- Glitter foam
- Straw or satay stick
- Ribbon
How to make this Teachers’ Day card idea:
- Fold a piece of origami paper in quarters
- Unfold the paper and fold it into triangles on both ends. Make sure that the fold marks are visible on both sides
- Fold the paper into the smallest triangle possible based on the folds
- Draw a petal curve using a pencil and slowly cut it out with scissors. You should get a flower when you unfold it.
- Repeat steps 1-4, but this time round, use a smaller-sized origami paper of another colour
- Glue the smaller flower on top of the larger flower
- Paste some heart-shaped glitter foam on each petal
- Write your Teachers’ Day message in the middle of the flower, and design it however you like
- Roll up and glue another piece of origami paper (preferably green) around a straw or satay stick. This will form the stem.
- Attach the stem to the back of the flower and stick another heart-shaped glitter foam there
- Tie a ribbon around the stem
5. Pen Teachers’ Day Card
You can never go wrong with getting a pen as a Teachers’ Day gift. But we encourage you to go one step further and combine it with this simple Teachers’ Day card design idea in Singapore! This way, you’ll be able to have a handmade Teachers’ Day card and gift all in one. We’re sure your teachers will appreciate the gesture.
You will need:
- Coloured paper
- Scissors
- Circle template
- Glue
- Pen (gift)
- Penknife
- Ribbon
- Double-sided tape
How to make this Teachers’ Day card idea:
- Fold a piece of coloured paper in thirds, which resembles the shape of an ice cream cone
- Cut out a curved shape to remove the excess paper with scissors
- Trace out small circles using a circle template on a smaller piece of coloured paper
- Cut it out while leaving a small square at the folded edge. You should get a small flower
- Glue the flowers together such that there are eight petals on each flower. Add as many layers of petals to the flower as you wish.
- Create some leaves using a piece of green coloured paper
- Cut two small lines on the first piece of coloured paper using a penknife, and string it through with a ribbon
- Leave a small gap between the lines to stick on a double-sided tape for the gift pen that you’re going to give your teacher
- Stick the flower and leaves on top of the pen
- Repeat steps 1-2 with a different coloured paper for the external bouquet cover and design it as you like
- Slot in the pen gift in the bouquet cover, and your Teachers’ Day card is ready!
6. Teacher’s Day Waterfall Photo Card
If your child is on the shy side and doesn’t know what to write beyond a simple “Happy Teacher’s Day” on a gift card, a photo card might be just the thing. It’s a heartfelt, visual way to show appreciation without the pressure of writing. Plus, it’s a fun little craft project you can enjoy together!
You will need:
- 6cm x 6cm coloured paper (5 pieces)
- 5cm x 5cm white paper (5 pieces)
- 30cm x 6cm strip of coloured paper (for the base)
- 12cm x 2cm strip of coloured paper (for the pull tab)
- Glue
- Scissors
- Pencil
How to make this Teachers’ Day card:
- Glue each 5cm x 5cm white paper square onto a 6cm x 6cm coloured square. Repeat for all five
- Take the 30cm x 6cm strip of coloured paper. Place one of the squares on it and lightly trace a line under it with a pencil
- From that line, measure and mark four more 1cm intervals downward, drawing horizontal lines across the strip at each point. Do this on both edges to guide your cuts
- Use scissors to carefully cut along each 1cm line, stopping at the pencil lines on each side (don’t cut all the way across!)
- Fold the flaps down along each cut line. These folds will hold your square photo cards
- Glue the top edge of each square onto each fold, creating a waterfall effect
- Take the 12cm x 2cm strip and glue it horizontally behind the base strip, just under the squares. This acts as the pull tab – make sure both ends are securely glued down
- Trim the end of the pull strip into a triangle shape to give it a neater look. Then, cut out a separate heart shape, write the word “Pull” on it, and glue it onto the trimmed end of the strip to indicate where to tug
- Finally, add photos to each of the squares – these could be solo pictures with the teacher, class photos, or fun school memories
7. Life-Size Handprint Teacher’s Day Card
And let’s be real – some of us just aren’t the artsy-craftsy type, and that’s totally fine. That doesn’t mean you can’t make a sweet, meaningful Teachers’ Day card with your child. In fact, this next DIY idea is super simple and uses just one tool: your hands! You can make it in two styles – a butterfly or a plant – but our favourite is the plant because you can add a cute, punny message at the bottom.
You will need:
- Green, yellow, and red paint
- A4 size paper
- Black paper (optional, for the pot)
- Scissors and glue
How to make this Teachers’ Day card:
- Paint your child’s entire hand with green paint
- Stamp the green handprint vertically onto the centre of the A4 paper – this will be the plant stem and leaves
- Dip your child’s finger into yellow paint and stamp one yellow dot at the top of each finger on the handprint. This will be the flower centre
- Then, dip the finger into red paint and stamp five red dots around each yellow dot to create petals
- While the paint is drying, cut a small flowerpot shape out of black paper and glue it at the bottom of the handprint
- Below the design, write a sweet message like: “Thank you for helping me grow!”
8. 3D Teachers’ Day Card
You can find all kinds of card designs online, but today we’re sharing one that really stands out. It’s shaped like a podium, symbolising that your teacher is #1! The 3D pop-up layers give it a bold effect, and the message is loud and clear: “Happy Teachers’ Day!” It’s fun to make, easy to customise, and guaranteed to impress.
You will need:
- White A4 size paper (for the main card)
- Coloured paper (red preferred for backing and decorations)
- Markers or pens
- Scissors
- Glue or double-sided tape
How to make this Teachers’ Day card:
- Fold an A4 sheet of white paper in half (landscape orientation). From each bottom corner, measure 3cm inward along the bottom edge and mark a point
- From each 3cm mark, draw a vertical line upwards, 6cm long. Connect the top of both lines with a horizontal line – you now have a large rectangle (this is your main “step”)
- From the top edge of this rectangle, measure another 3cm inward on both sides. Repeat step 2, but for a smaller rectangle above the first
- Cut along the two vertical lines of both rectangles (don’t cut the top or bottom horizontal lines!)
- Fold the two rectangles inward to create a pop-up step effect inside the card
- Use markers to write “Happy” on the smaller top rectangle and “Teachers’ Day” on the larger one below
- Draw or glue hearts around the steps. Add string lines to make the hearts look like balloons floating above
- Cut thin red strips of paper and glue them around the edges of the white card for a framed look
- Glue a slightly larger red sheet behind the folded white card to strengthen and add contrast
- While that dries, prepare three strips of red and white paper (each 5 x 30cm long)
- Glue the strips together, crumple or fold accordion-style to make fan shapes, then glue them to the left and right sides of the card like curtain accents
- Decorate the front of the card however you like – add your teacher’s name, stickers, drawings, or a photo
What do I write in a Teachers’ Day card?
There’s no hard and fast rule over what you can write in a handmade Teachers’ Day card. More importantly, take this opportunity to thank your teachers and educators for the hard work, both seen and unseen, that they have put in over the years. You can also go one step further by listing down anecdotes of the times they have gone the extra mile to help you. This will definitely make them feel touched and appreciated. Other Teachers’ Day card ideas would include giving them a motivational quote to spur them on. And if you have a picture with your teacher, it would be nice to print it out and paste it on the card too!
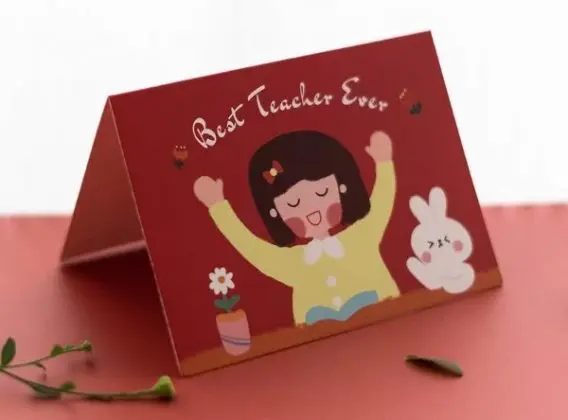
Try out these DIY Teachers’ Day card ideas in Singapore (2025)
We hope this list of handmade Teachers’ Day card ideas have inspired you to do a little something for the different educators in your life. Go one step further by getting them a present too! Here are some Teachers’ Day gift ideas to help you along. Otherwise, the Mid-Autumn Festival also takes place in September so it’s a good time to feast on the best traditional mooncakes or try out some DIY lantern-making with your kids!
This article was updated on 25 July 2025. Additional research done by Shermyn Tan.


![best diaper bag singapore [featured]](https://shopee.sg/blog/wp-content/uploads/2023/06/best-diaper-bag-singapore-featured-1.webp)


