We love our dogs like family, but they have a special talent for getting messy. Whether they’re rolling in who-knows-what or digging through the bin, it doesn’t take long before they’re due for a good clean. Regular dog grooming keeps fleas at bay, detangles fur, and gets rid of that unmistakable doggy smell! I take my dog, Cooper, to the groomer when I can, but as any pet parent knows, it can get pretty pricey. That’s why I’ve learned to handle a lot of it at home, and here are my steps for grooming your dog at home.
Why groom your dog at home?
There are many benefits for grooming your dog at home. For one, you save on the costs of taking your pet to the professional grooming salon, which can cost you up to $70 to $150, depending on the size of your dog. And, like hoomans, your dog will feel refreshed after a regular bath as you remove dirt, oil build up, and bacteria that could affect your pet’s health.
Here are some of the best benefits for grooming your dog at home:
- Improves Skin and Coat Health: Gentle, regular grooming helps distribute natural oils, keeping your dog’s skin healthy and their coat shiny and soft.
- Reduces Shedding Around the House: Frequent brushing helps manage shedding before it ends up all over your clothes, sofa, and floors.
- Convenience: No scheduling, no travel, no waiting – just you, your pup, and your own time and space! It’s also a good time to connect and build trust with your dog.
Step 1: Gather your tools (and your pup!)
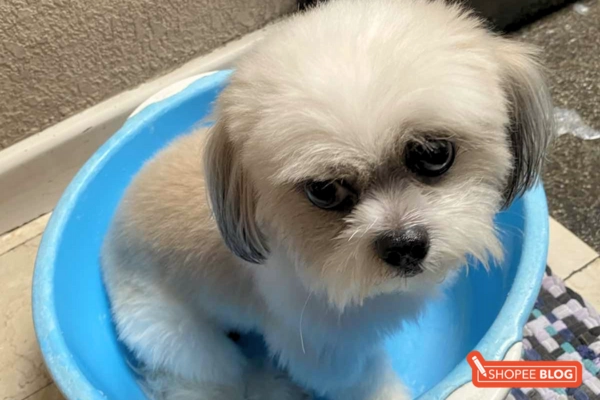
The first step is to gather your tools and secure your pet. If your dog is anything like mine, then they’ll likely get the psychic ability to know when it’s bath time! Get all your tools ready before you get your pet. This will prevent your dog from escaping, and let you have a smooth start to grooming your dog at home.
You’ll need the usual dog grooming essentials like a large tub, a dog brush, shampoo, and more. I like using this Portable Shower Head that connects directly to my faucet for a DIY dog spa, but you can also use a tub and a pet shampoo brush to bathe your dog. Here’s what you’ll need to groom your dog at home:
- Dog Brush
- Dog Shampoo
- Dog Toothpaste and toothbrush
- Dog Towel
- Clippers or scissors
- Nail clipper or nail grinder
- Paw balm – I recommend this Organic Pet Paw Balm from Natural Dog Company
- (Recommended) Dog conditioner
- (Optional) Dog cologne
- (Optional) Dog supplements
Step 2: Brush and untangle fur
Next, it’s time to give your furball a good brush! Brushing your dog’s fur helps to remove tangles and dead hair as well as distribute natural skin oils to make your dog’s coat healthy and shiny. And if you think your dog’s coat is too short to brush, think again! Even short-coated dogs need a good brushing to prevent matting and to remove trapped debris.
It helps to know what kind of dog brush is right for your dog’s coat. If you’re not sure, however, I recommend this Slicker Brush from Dearyoyo, which has angled wire bristles that will prevent you from scratching their skin while still removing debris and detangle fur. When using a slicker brush, remember to brush in the direction of the fur growth!
Step 3: Bathe your dog
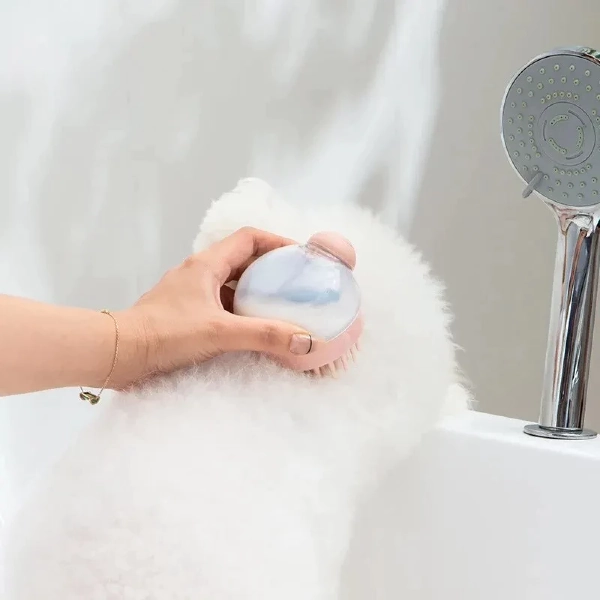
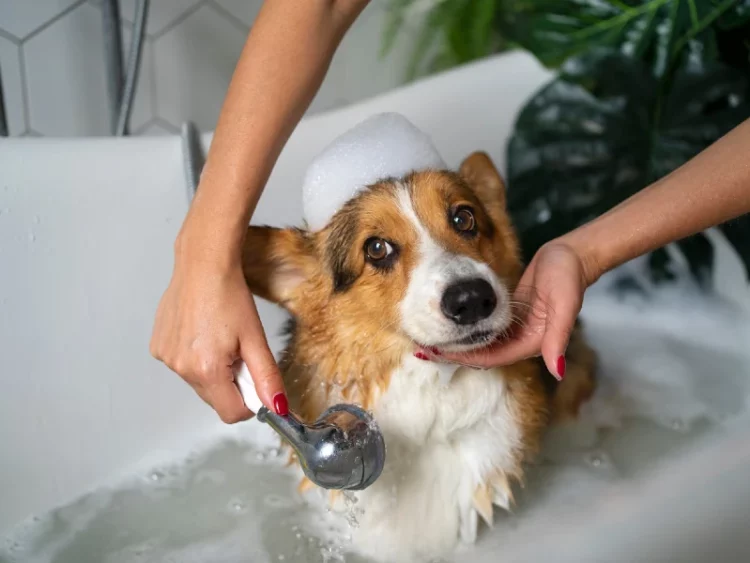
Remember that Pet Shampoo Brush I mentioned earlier? It’s time to put it to good use! These brushes let you lather deep into your dog’s fur, which is especially helpful for double-coated breeds. Besides, bathing your dog helps to remove grime and dirt from their coats, so it’s important to massage shampoo deep into their fur! Start washing your dog from the tail and work your way up towards the head, taking care to keep soap away from their eyes and ears.
Ideally, you should bathe your dog weekly to keep them looking fresh. This is a crucial step when grooming your dog at home! Always make sure to use pet-friendly shampoos made specifically for dogs, as hooman shampoos (even baby shampoo) can be too harsh for your pup’s sensitive skin. If you want, you could also use a dog conditioner to keep your pet’s fur soft and tangle-free for longer – I highly recommend it!
Paw tip: Put cotton balls in your pup’s ears while you bathe them to prevent water from getting inside. This will prevent ear infections, especially with floppy-eared breeds!
Step 4: Brush their teeth
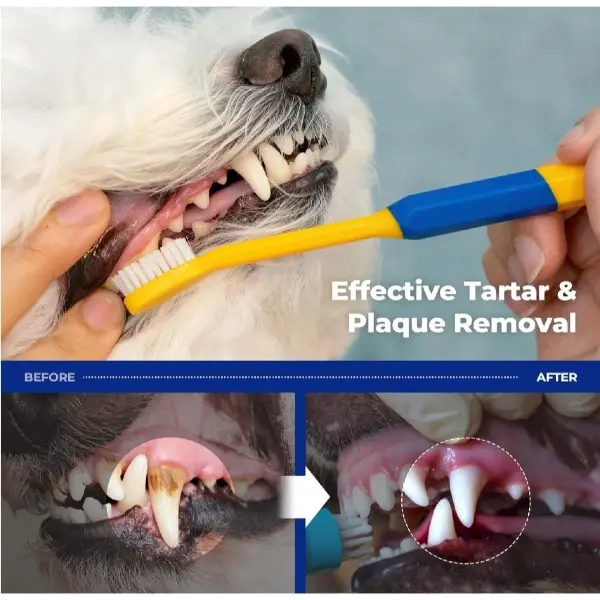
Don’t forget to brush your pet’s teeth! Like us, our furbabies also need good dental hygiene. Brushing your pet’s teeth gets rid of plaque, preventing gum disease and tooth decay. And no, dental sticks won’t cut it! You can get a pet toothbrush with extra-soft bristles, so you don’t end up hurting your pup. I recommend this small Pet Toothbrush and Toothpaste Set from Pethroom!
To brush their teeth effectively, gently place your hand under your dog’s lower jaw and the other on top. Gradually part the mouth and ease the jaw open. Next, let your dog sniff and lick the dog toothpaste before brushing. This reduces their stress, and lets them know there’s a treat to brushing! Brush their teeth in a circular motion, gradually increasing the number of teeth as you brush.
Paw tip: Most pet toothpaste comes in mint for fresher breath, but if your pet does not take to the minty taste, try using chicken or beef flavoured toothpaste as an alternative!
Step 5: Dry your dog
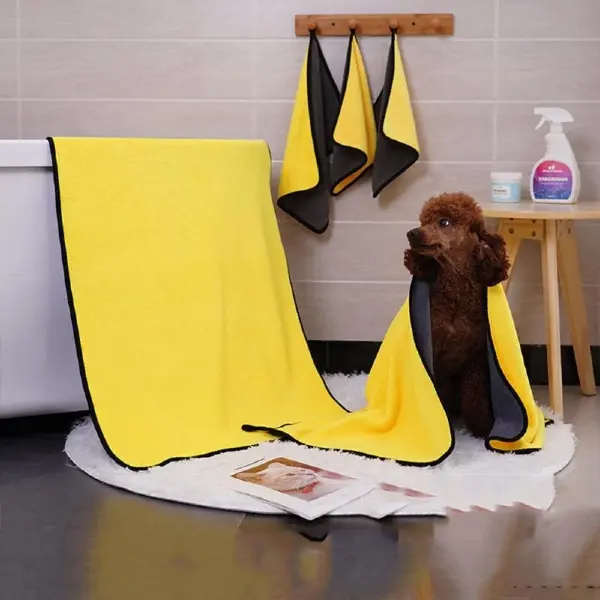
Pet parents know all too well how good dogs are at shaking off excess water. They’re just trying to dry themselves after all! Grab a super absorbent dog towel, like this Microfibre Pet Towel, or wrap them in cute dog bathrobes. Be sure to get into their dense coat to fully dry your pet.
After drying, they should be damp and not dripping wet. I don’t recommend using hair dryers meant for hoomans, as it can be difficult to regulate the temperature of its airflow. You could accidentally burn their skin while grooming your dog at home! Instead, spring for a pet dryer that’s quiet and cool to completely dry your pup’s fur.
Step 6: Brush their fur
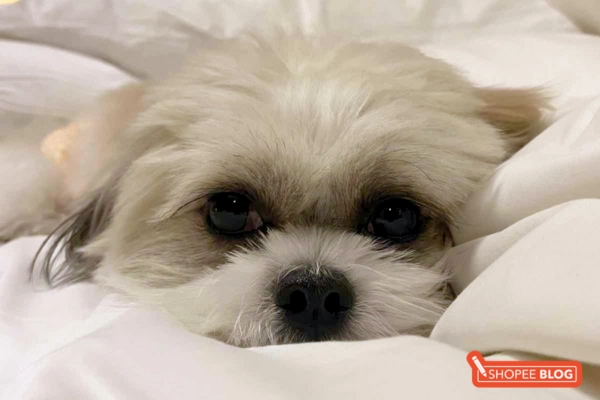
Cooper’s a shih tzu-maltese mix, which means there’s a lot of fur to brush out! Breeds like Shih Tzus, Poodles, and Bichon Frises are prone to matting, so you’ll need to brush their fur frequently. Start with a good dematting comb to remove tangles, then use a wire brush to manage their fur. Be sure not to pull too hard to avoid hurting your pet, and detangle potential matts by brushing from the ends towards the root of the fur.
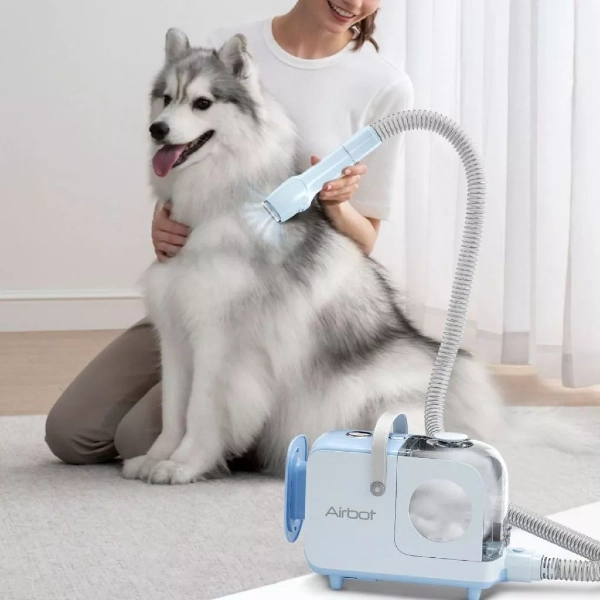
And, if your dog sheds a lot, don’t let that loose fur escape! The Airbot Pet Grooming Vacuum Cleaner is an all-in-one gadget I personally love as it brushes, de-sheds, and cleans up excess fur from your pet in one movement! The adjustable suction power and quiet motor also means that your dog won’t be frightened by this grooming kit.
Step 7: Trim their fur
Like I mentioned before, grooming your dog at home lets you save on the cost of a professional grooming salon – and that includes the haircut! However, giving your dog a haircut at home will depend on your dog’s type of coat and how often their fur sheds (as well as your confidence level in giving your pup a good trim).
Pet clippers are great for when you’re grooming your dog at home for the first time. These clippers often come with a guard, so you avoid nipping your pet’s skin, and have more control over the length of fur you’re trimming. When using clippers, work your way from their neck to their back leg on one side, then repeat on the other. It takes a few tries (and loads of practice) to get right, but it’s important to hold your dog firmly by gently while trimming around sensitive areas.
Paw tip: Double-coated breeds, like Siberian Huskies and Pomeranians, should not get a dog haircut at home as an inexperienced hand could end up damaging their fur. Simply use a wire brush to remove any matted fur!
Step 8: Clip their nails
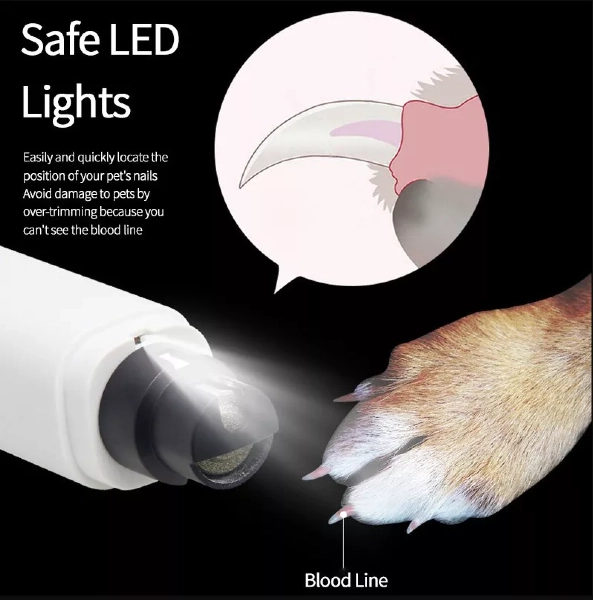
When you hear clicking sounds against your floorboards, you know it’s time for Fido to get a paw-dicure! When you’re grooming your dog at home, don’t forget to trim their nails with a dog nail clipper or grinder. This Pet Nail Grinder even comes with a safety cap and LED light so you know exactly where you’re trimming.
But, how can you tell when to stop trimming? For transparent nails, you want to trim your pup’s nail just above the pinkish area (called a quick). For coloured dog nails, look under the nail for the lighter-coloured quick, and cut right before that area. A good rule of thumb is to cut less than what you need to, then use a pet nail grinder to remove any excess without hurting your pet. Apply the grinder in a circular motion around the tip to polish it smoothly.
Step 9: Wrap-up grooming your dog at home
The last few things to do is to apply some paw balm on those toebeans to prevent dry, cracking paws, and spritz on some pet cologne to keep your pup smelling like a baby all-week long. It’s like having a DIY dog spa at home!
And optionally, you could add an extra shine to Fido’s coat by incorporating omega-3 into their diets. Omega-3 has anti-inflammatory effects and can be found in fish, fish oil and chia seeds. These Salmon Oil Bites from Zesty Paws contain fish oil, biotin, and antioxidants to maintain your pup’s normal skin moisture levels for soft, cuddly fur!
Grooming your dog at home doesn’t have to be complicated!
Who says grooming your dog at home has to be difficult? Not with our step-by-step guide! Now that your pup’s all clean and dry, you’re ready to head out into town at some of the best pet-friendly cafes in Singapore! Looking for a more professional grooming service? These top dog spas in Singapore will keep your pooch calm and relaxed while they get a cut and bath. Pamper your little furball, and keep them happy and healthy.
This article was updated on 1 April 2025. Additional research done by Janica Ng.

